Black and White Photography
Images: Garry Benson and David Bailey
Text: Garry Benson

© David Bailey
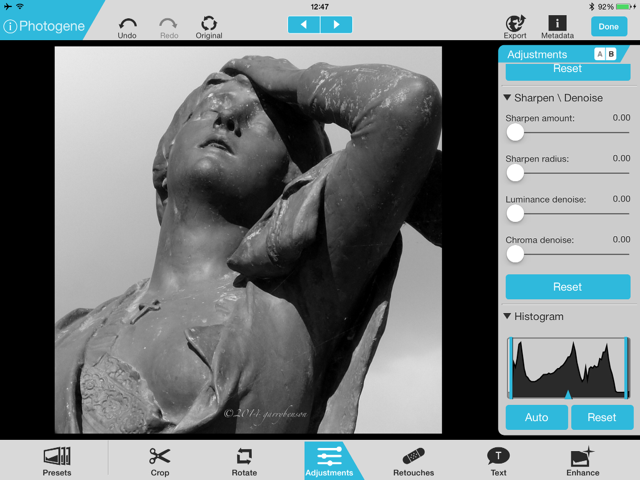
In our glorious world of 80 centimetre 3D LCD TV’s etc, the concept of Black and White photographs may seem perverse – but there is inherent beauty in a black and white image. The art of black and white images is both a timeless and dramatic way to view the world. Instead of focusing on color, you can create images based strictly on light and tonal range – this allows you to view the gradual (or not so gradual) changes in your image and see the ‘soul’ of a photograph without distractions.
David Bailey worked in Black and White with his models – and got brilliant results:
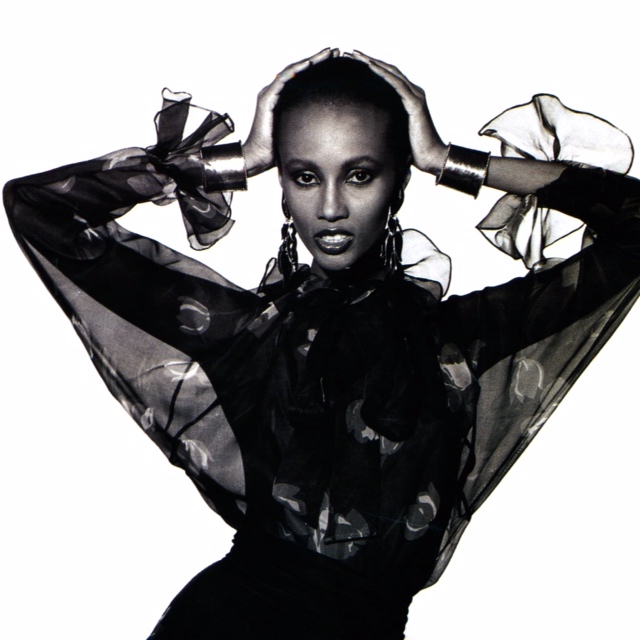
© David Bailey
Since you can’t really see the world in black and white, there are several important things to know before you set out on your next landscape photo shoot to ensure that you create the perfect black and white image.

© Garry Benson
© Garry Benson
Change your vision
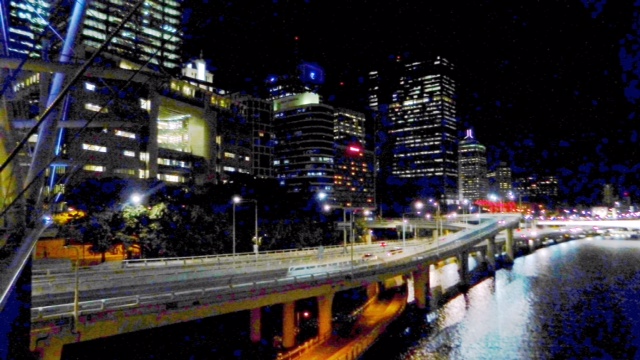
Shooting successful black and white images may change the way you look through your viewfinder – that is, you need to start viewing in tones rather than color. The tonal range of your image is basically the amount of highlights, shadows, and every shade of grey in between; highlights are your bright whites, shadows are your dark blacks, and midtones will be any combination of the two.
© Garry Benson

© Garry Benson
Exercise: Viewing in Black and White
Before setting out to shoot a black and white image, look at a color photo and try to guess what parts of your image will be highlights, shadows, and midtones. It may help to print it out and circle the areas that you think will be brightest and darkest.
Once you’ve completed that, convert the image to black and white on your computer and see how well you did. What colors were lighter than others? Did you make any incorrect predictions?
This is a good exercise to help you start viewing your world in black and white, and will also guide you to make correct predictions in the field.
© Garry Benson
© Garry Benson
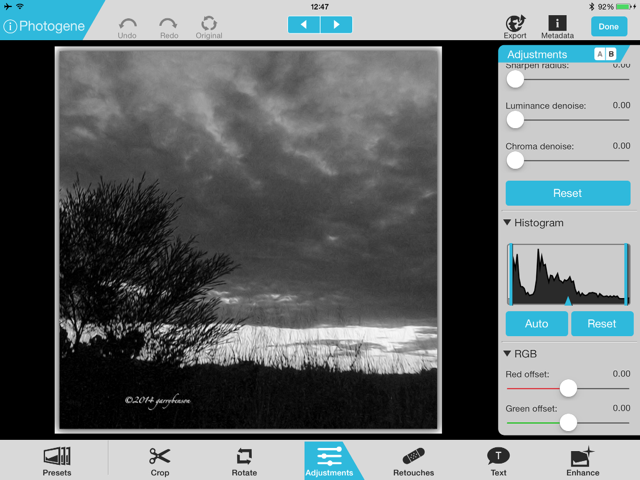
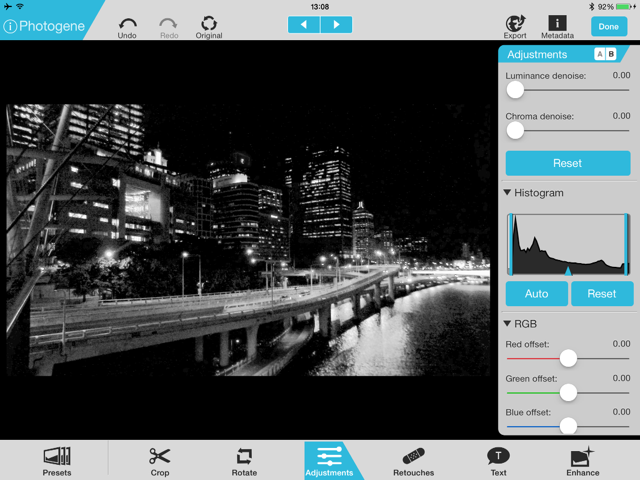
Use the Histogram
The histogram is your best friend when shooting black and white images as you can instantly see the level of highlights and shadows present in your photograph. A histogram with a spread from left to right will be a dramatic black and white image – this indicates that a full tonal range was captured and will tell you the percentage of each tone.
Neither histogram is better than the other in this respect – it depends entirely on the kind of scene you’re going for.
A bit of “chimping” (when you check your LCD screen after every shot) may be needed to get the results you want as what you see in the field can change dramatically once you upload it to your computer – there is no better way to evaluate what your black and white photo will look like until you read your histogram.
© Garry Benson
Composing your black and white image
While you should approach a black and white landscape as you would normally in regards to composition, there are a few things to be aware of which may affect how you compose your shot.
© Garry Benson
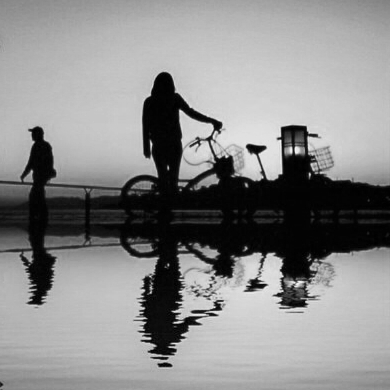
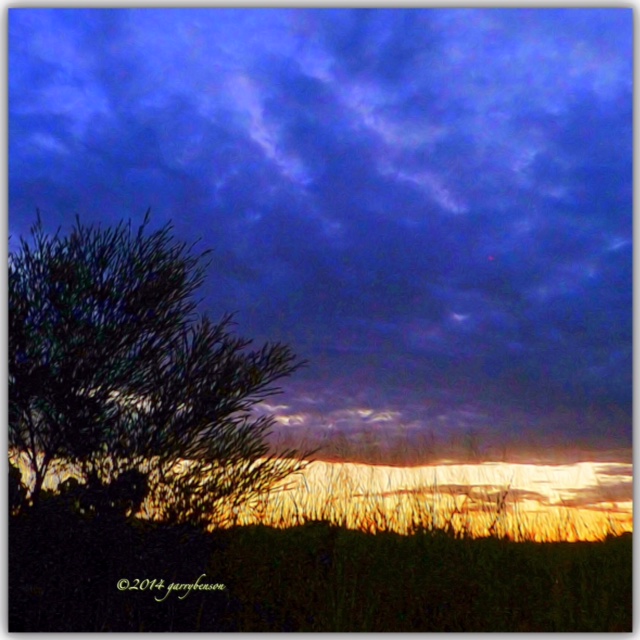
Since you’re dealing strictly with tones now, you should try to use that to your advantage when choosing a specific subject (if you have one) – this is especially important with foreground interest. Instead of relying on color to separate your subject, focus on the tones to create a dramatic photograph – as seen to the top right where the darkness of the trees is used to contrast with the white environment.
You can also compose your image to follow the light rather than the context of your image. Sunrise/sunset images are fantastic subjects for this as the low-angle can create intricate paths of light throughout your scene. In the image to the bottom right, one of the most attractive aspects are the fluid shadow patterns over the snowy landscape.
Also notice here how the dark tree contrasts well with the grey sky – this is another fantastic example of using the tonal range to separate the subject from your surroundings.
© Garry Benson
© Garry Benson
Dodging and Burning
Ansel Adams, a pioneer in black and white landscape photography, was infamous for his usage of dodging and burning to not only increase the tonal range of his landscapes, but to direct the attention of his images – in other words, where he wanted the eyes to be drawn to. This darkroom technique is often used in digital photography.
So that’s just a quick introduction to the beauty of Black and White – try it yourself and see what results you get…